
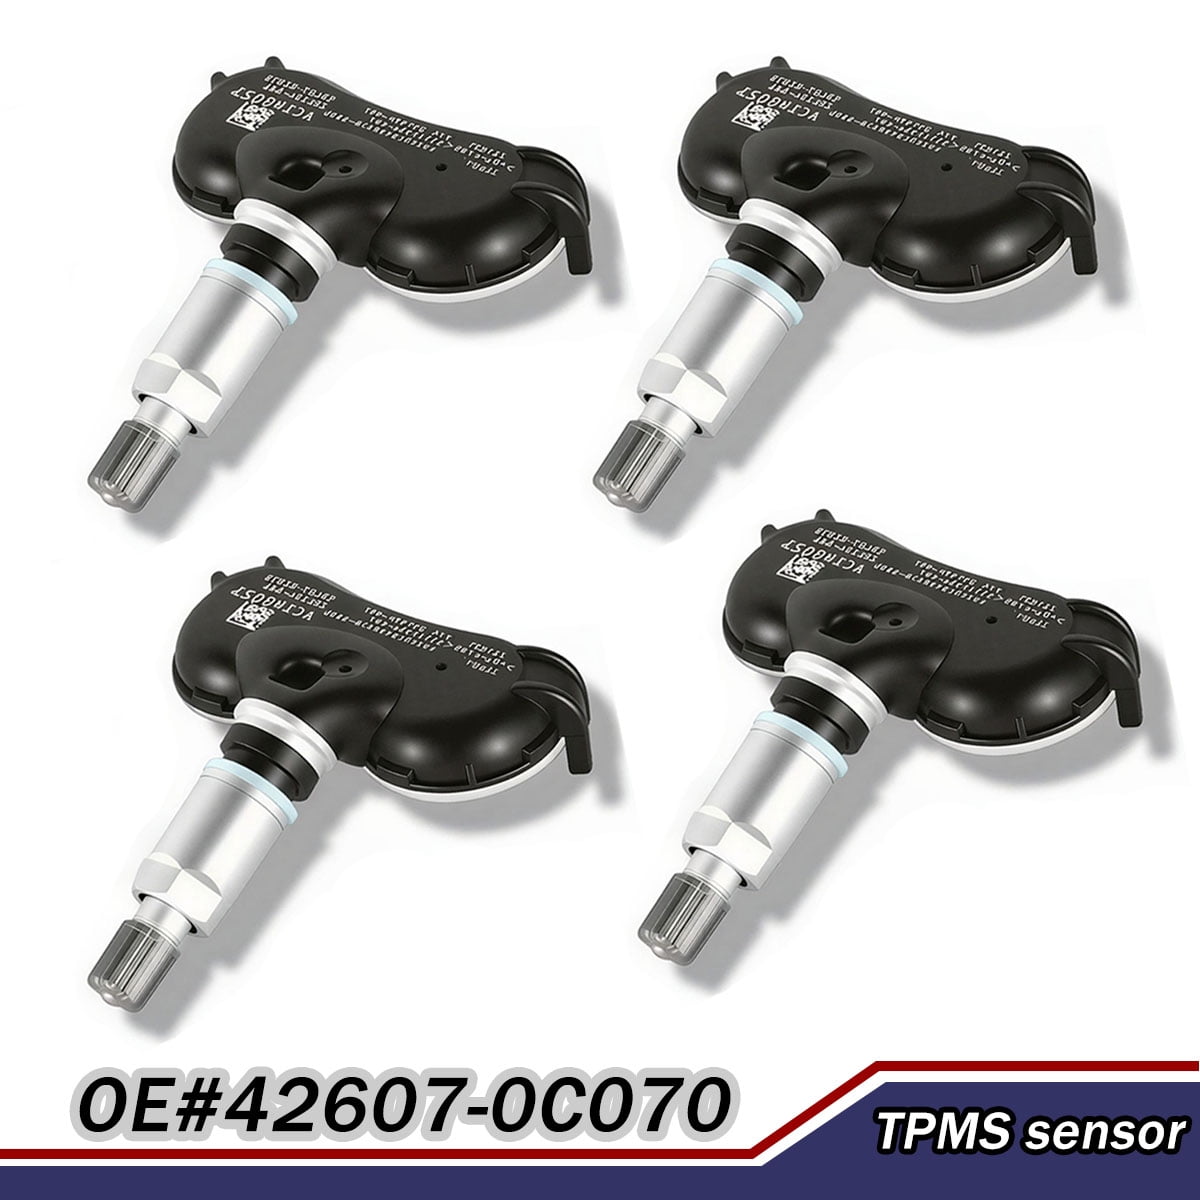
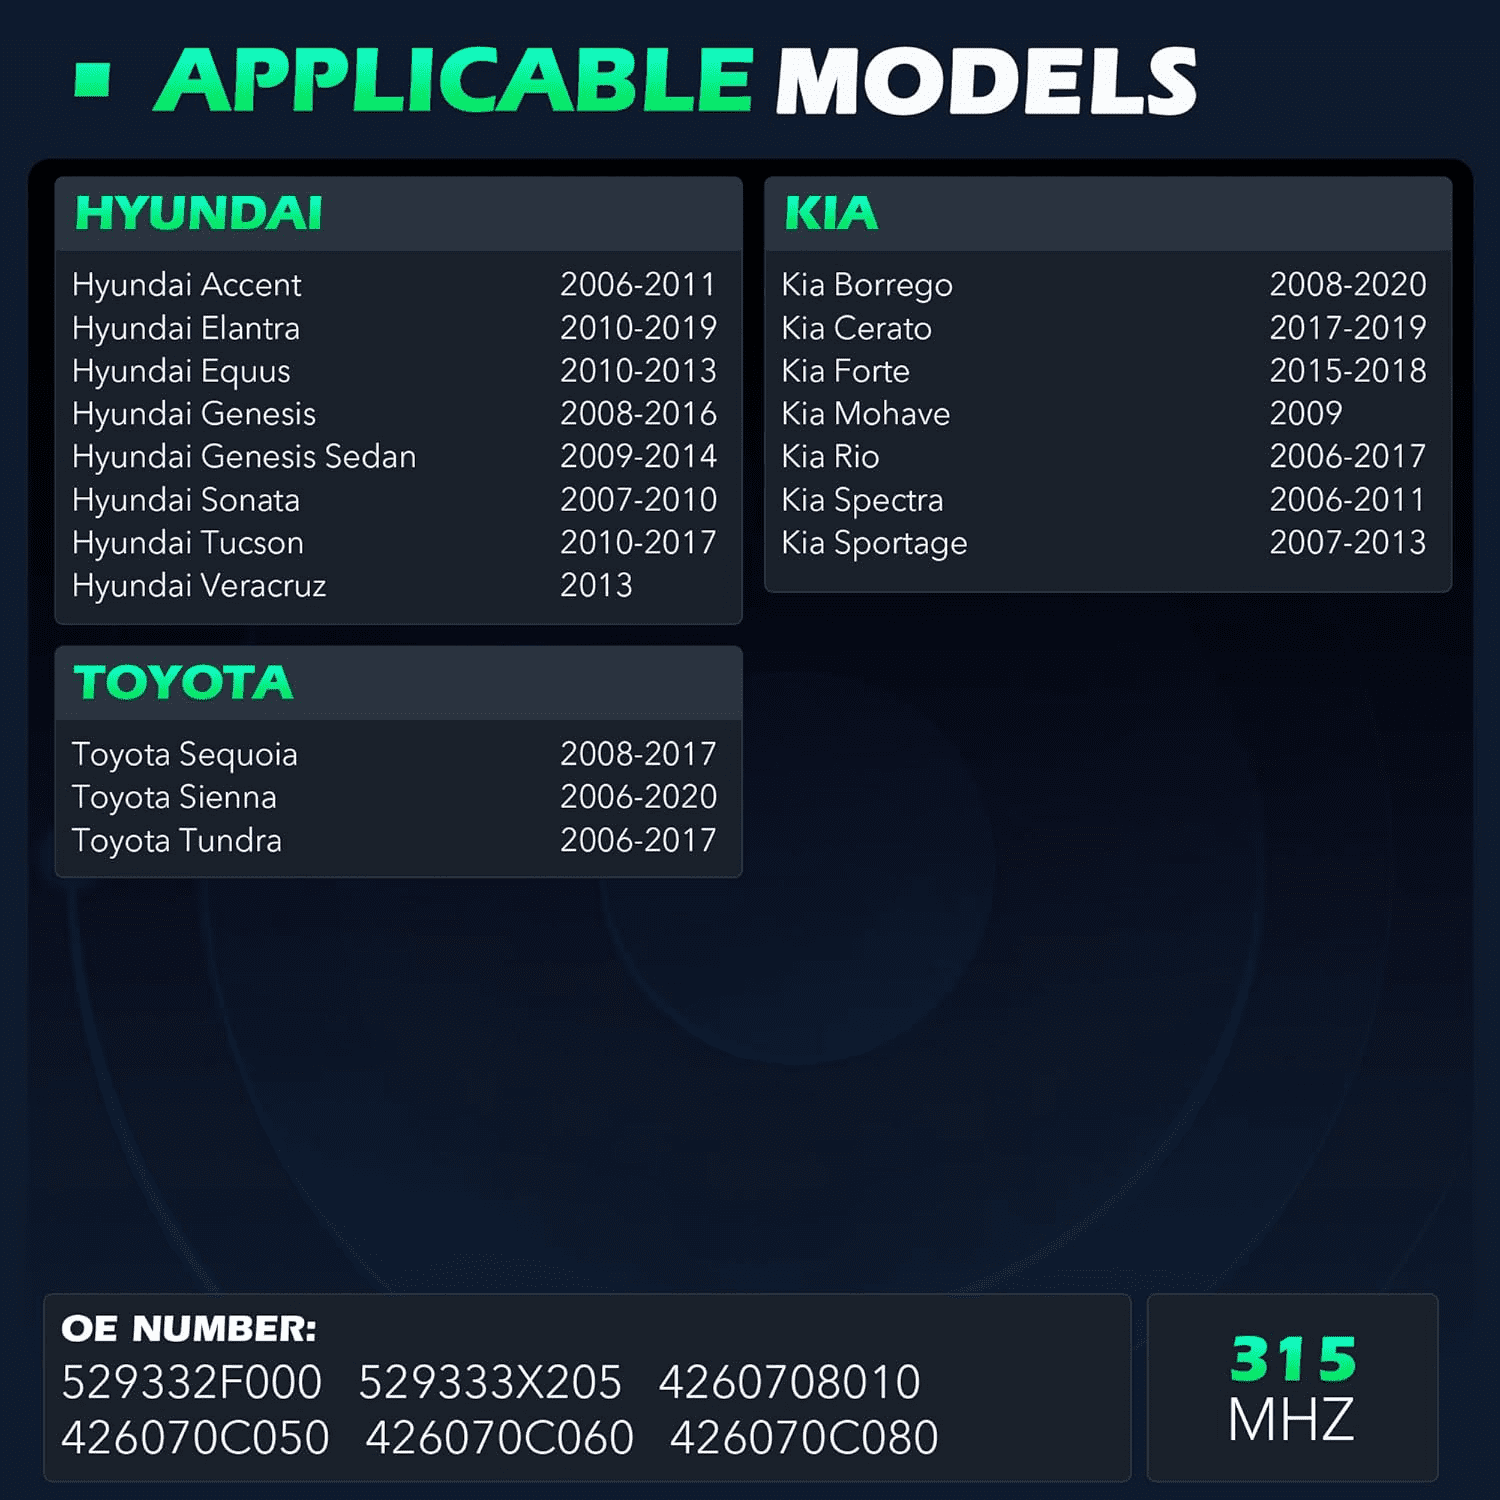
4PCS Pre-Programmed TPMS Sensor Tire Pressure Monitoring Sensor Toyota Sequoia 08-17 Sienna 06-20 Tundra 06-17 315Mhz
Product details
| Management number | 237857825 | Release Date | 2026/07/11 | List Price | US$17.69 | Model Number | 237857825 | ||
|---|---|---|---|---|---|---|---|---|---|
| Category | |||||||||
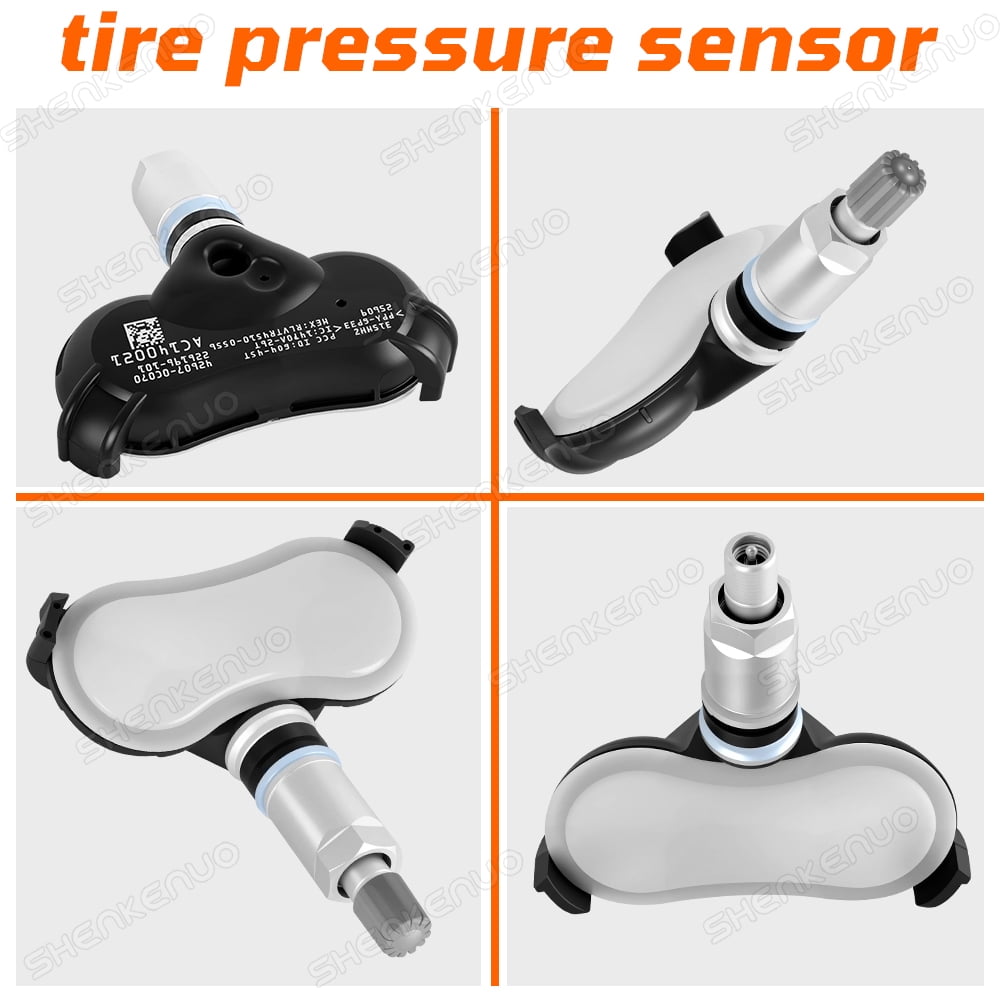
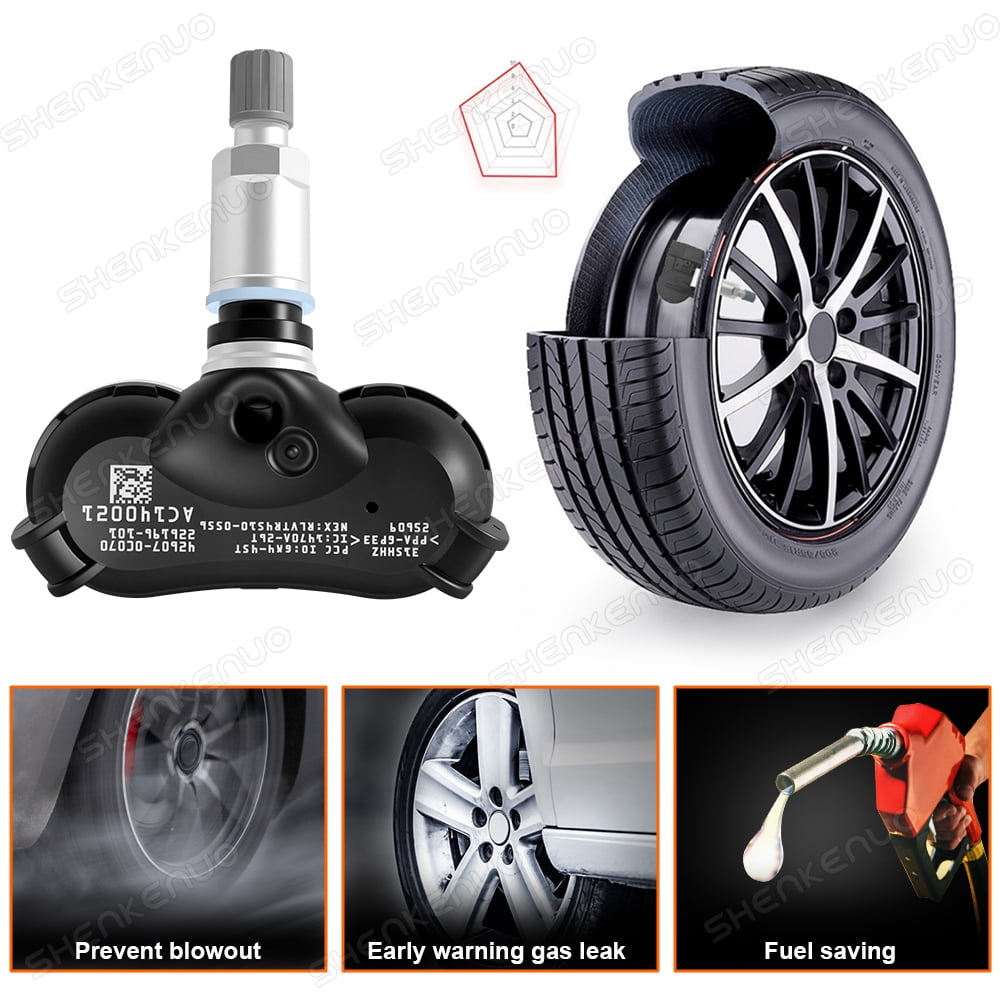
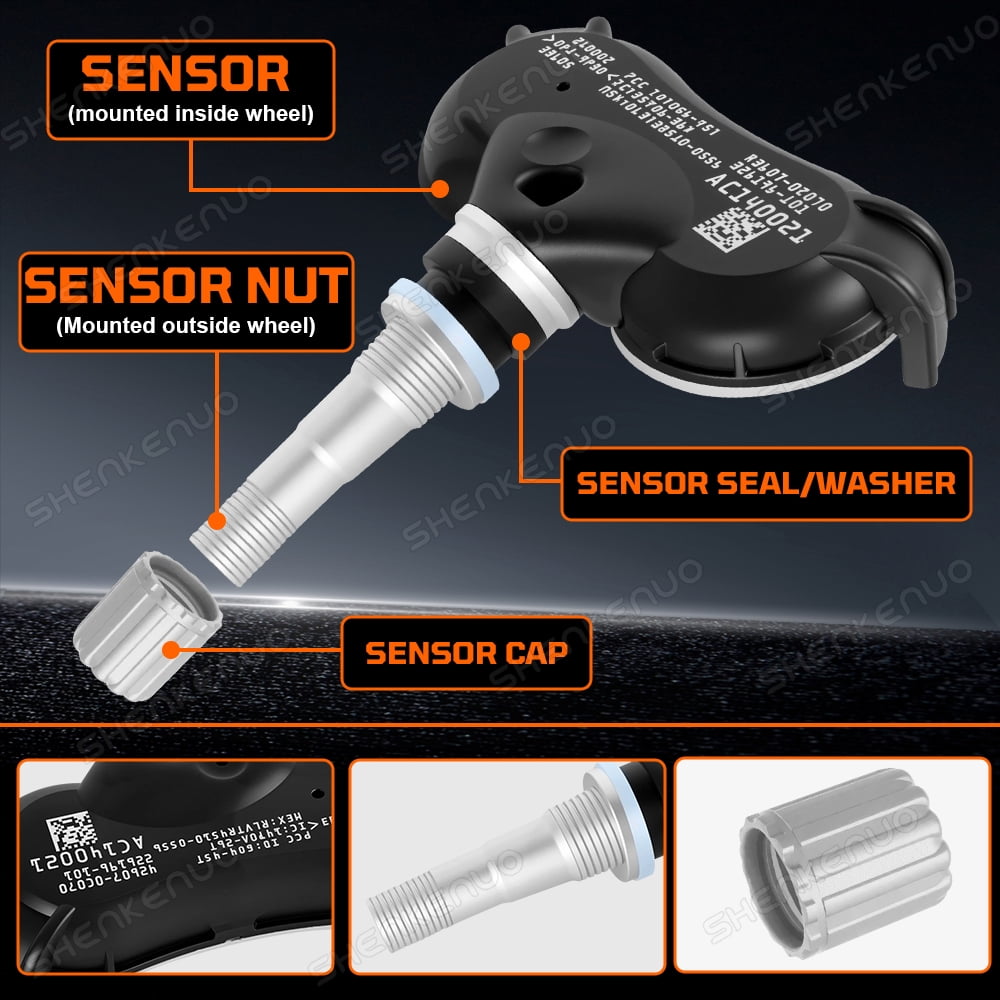
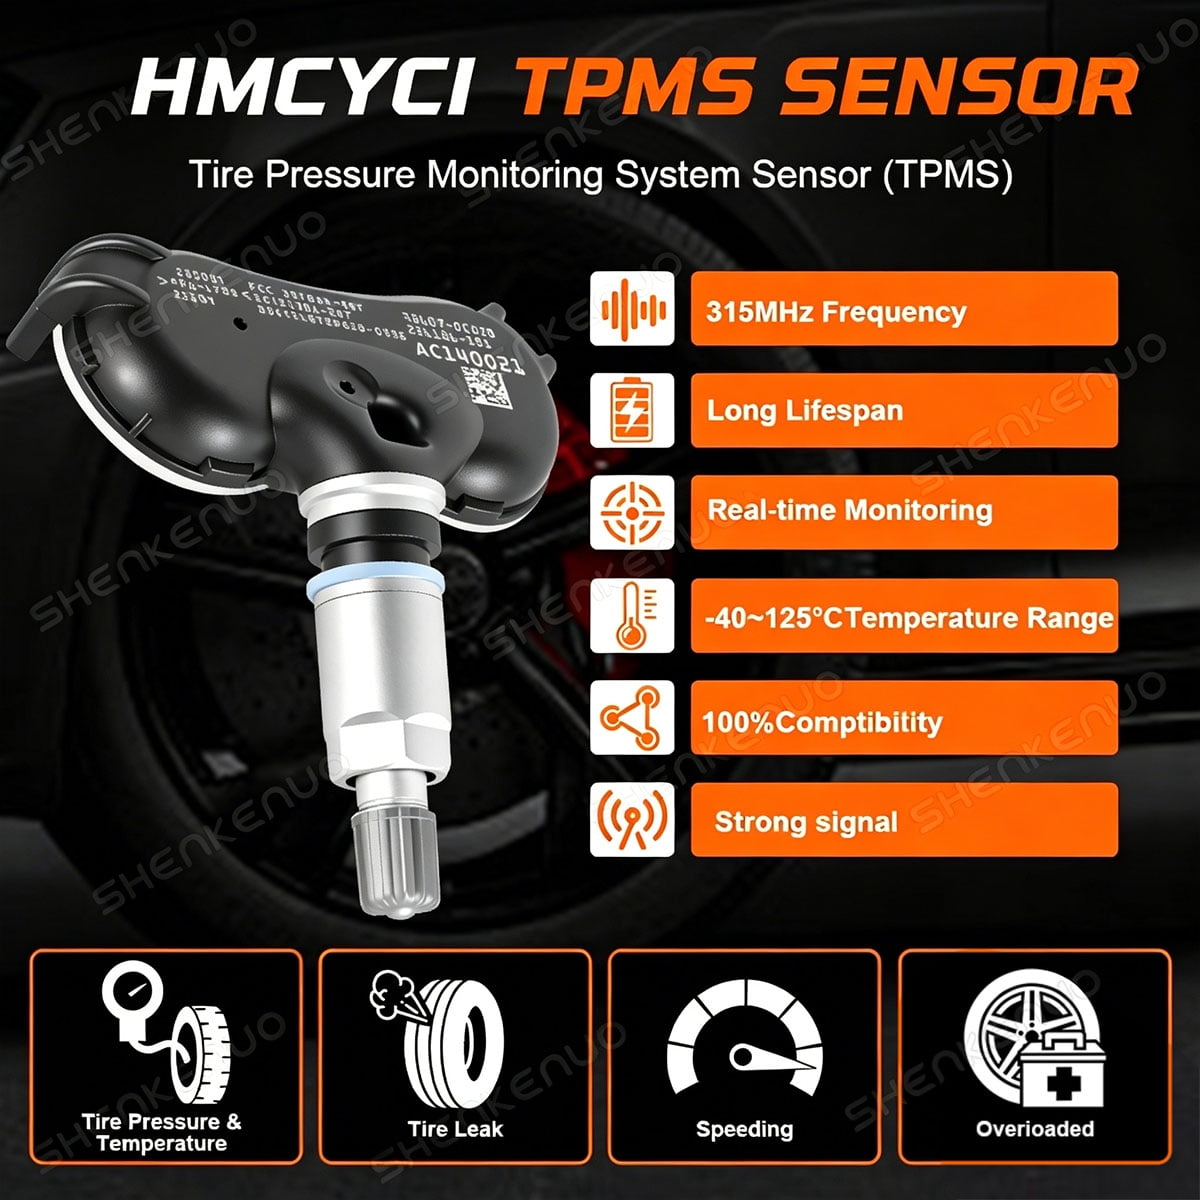
<p>Why We Need to Use TPMS Sensor?<br>TPMS is designed to monitor the air pressure in a tire and send a warning to the vehicle’s onboard monitoring system when the pressure drops below a preset limit. TPMS sensor can help improve ride and handling, reduce stopping distances, and the potential for hydroplaning. Tire pressure sensors can also increase fuel efficiency and extend tire life.</p> <p>Replace OE Number:426070C070,4260708010,426070C050,426070C080,426070C060,529332F000,529333X205<br>,426070C030,426070C040,426070C0500</p> <p>Specification:<br>Frequency: 315MHz<br>Pressure Monitoring Range: 100 – 900kPa<br>Operating Temperature: -40℉~257℉ / -40℃ ~+125℃<br>Electric Current:Static≤4uA\Instantaneous emissions≤3.3mA<br>Battery Life: ≥5 yearsBattery Voltage: 2.3-3.6V<br>Pressure Reading Accuracy: ±2 kPa<br>Installation Type:Snap In</p> <p>Package included:<br>4Pcs Tire Pressure Sensor</p> <p>Compatible with the Following Vehicles:<br>(Please refer to the product detail image)</p> <p>Optimized Installation Process:<br>1.Deflate the Tire:<br>Remove the valve cap and core to fully deflate the tire.<br>2.Dismount the Tire:<br>Secure the tire onto the tire changer and position the valve at the 1 o’clock position relative to the tire separation head. Use a tire tool to lift the bead over the mounting head and dismount the tire.<br>3.Remove the Sensor:<br>Using a screwdriver, remove the fastening screw and sensor from the valve stem. Then loosen the nut and completely remove the valve.<br>4.Install the Sensor and Valve:<br>Insert the valve stem through the valve hole on the rim. Secure the screw-nut with a torque of 4.0 Nm using a positioning pin for alignment. Attach the sensor body against the rim and tighten the mounting screw.<br>5.Mount the Tire:<br>Position the tire onto the rim, ensuring the valve is oriented 180 degrees opposite the separation head. Carefully seat the tire bead over the rim edge.<br><br><br><br><br><br></p>
- 【FITMENT/COMPATIBILITY】 HMCYCI tire pressure sensor fit for HYUNDAI/KIA/TOYOTA, Please refer to the product detail image
- 【OEM Part Number】Pre-programmed tpms sensors direct-Fit OE replacement sensor,Replacing OE numbers are 426070C070.4260708010.426070C050.426070C080.426070C060.529332F000.529333X205
- 【Professional Testing】Each TPMS is tested before leaving the factory to ensure trouble-free installation and performance. We provide a one-year warranty on our products, if you encounter problems, please contact us
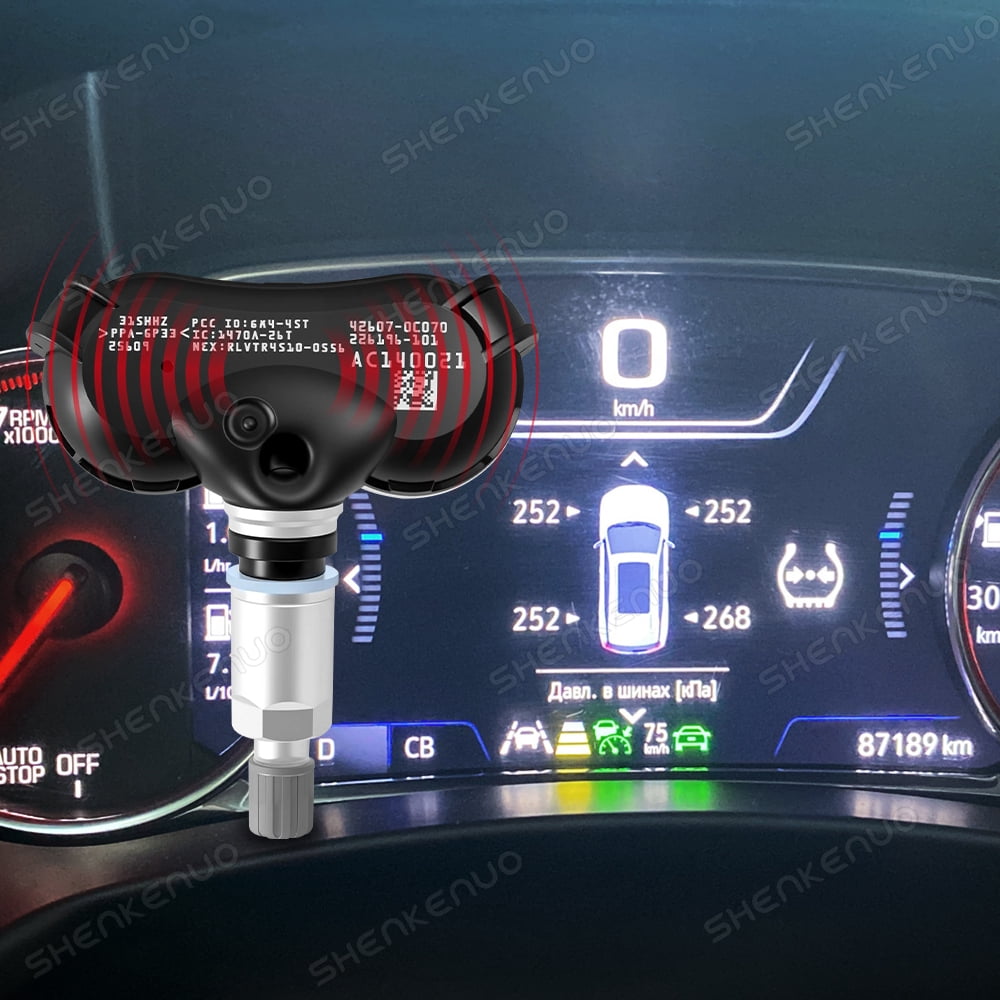
- 【NO SENSOR PROGRAMMING REQUIRED 】The tire pressure monitor system (TPMS) come pre-programmed specifically for your make/model/year of vehicle,will instantly registered to the truck TPMS monitoring by themselves after mounted the new wheels and tires and took a test drive
- 【HIGH QUANLITY】High performance Cr2032 battery and 900kpa chip.Battery is made to last up to 10 years of normal use,and can withstand 40 degrees low temperature,125 degrees high temperature.
| Features | Built-In, Compatible |
|---|---|
| Assembled Product Dimensions (L x W x H) | 5.91 x 5.91 x 1.97 in |


Bestseller ranking
Pendants



Customers who viewed this product also viewed
Uncategorized



Correction of product information
If you notice any omissions or errors in the product information on this page, please use the correction request form below.
Correction Request Form